|
|
Docs | Gallery | Download | Blog |
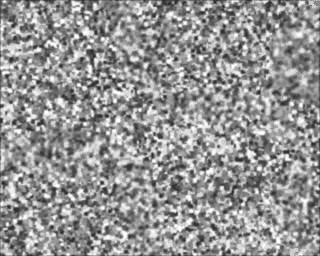
This is a continuation of the Cloud and Noise Texure Tutorial.
We had a grey texture by default. Let's change it for more eye-catching and explosive gradients.
p for palette.| H S V bars | Explanation |
|---|---|
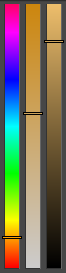 |
I advise you to use the H S V sliders, it's more graphical. H is HUE, the hue. S is the SATURATION in color. A saturation at 0 (bottom) is always white. The V (VALUE) is more or less dark. At the bottom it is therefore absolute black. If your Value is 0, the saturation is useless. Hue allows you to change the color along the rainbow. The bar ends and starts with red. |
Later, the programs will visualize this as a color circle, which is more meaningful. But at that time, we had some colors for the interface. Please note that the PyDPainter interface is not affected by your change of colors in the Palette. This is a luxury, it was not the case on a real Amiga.
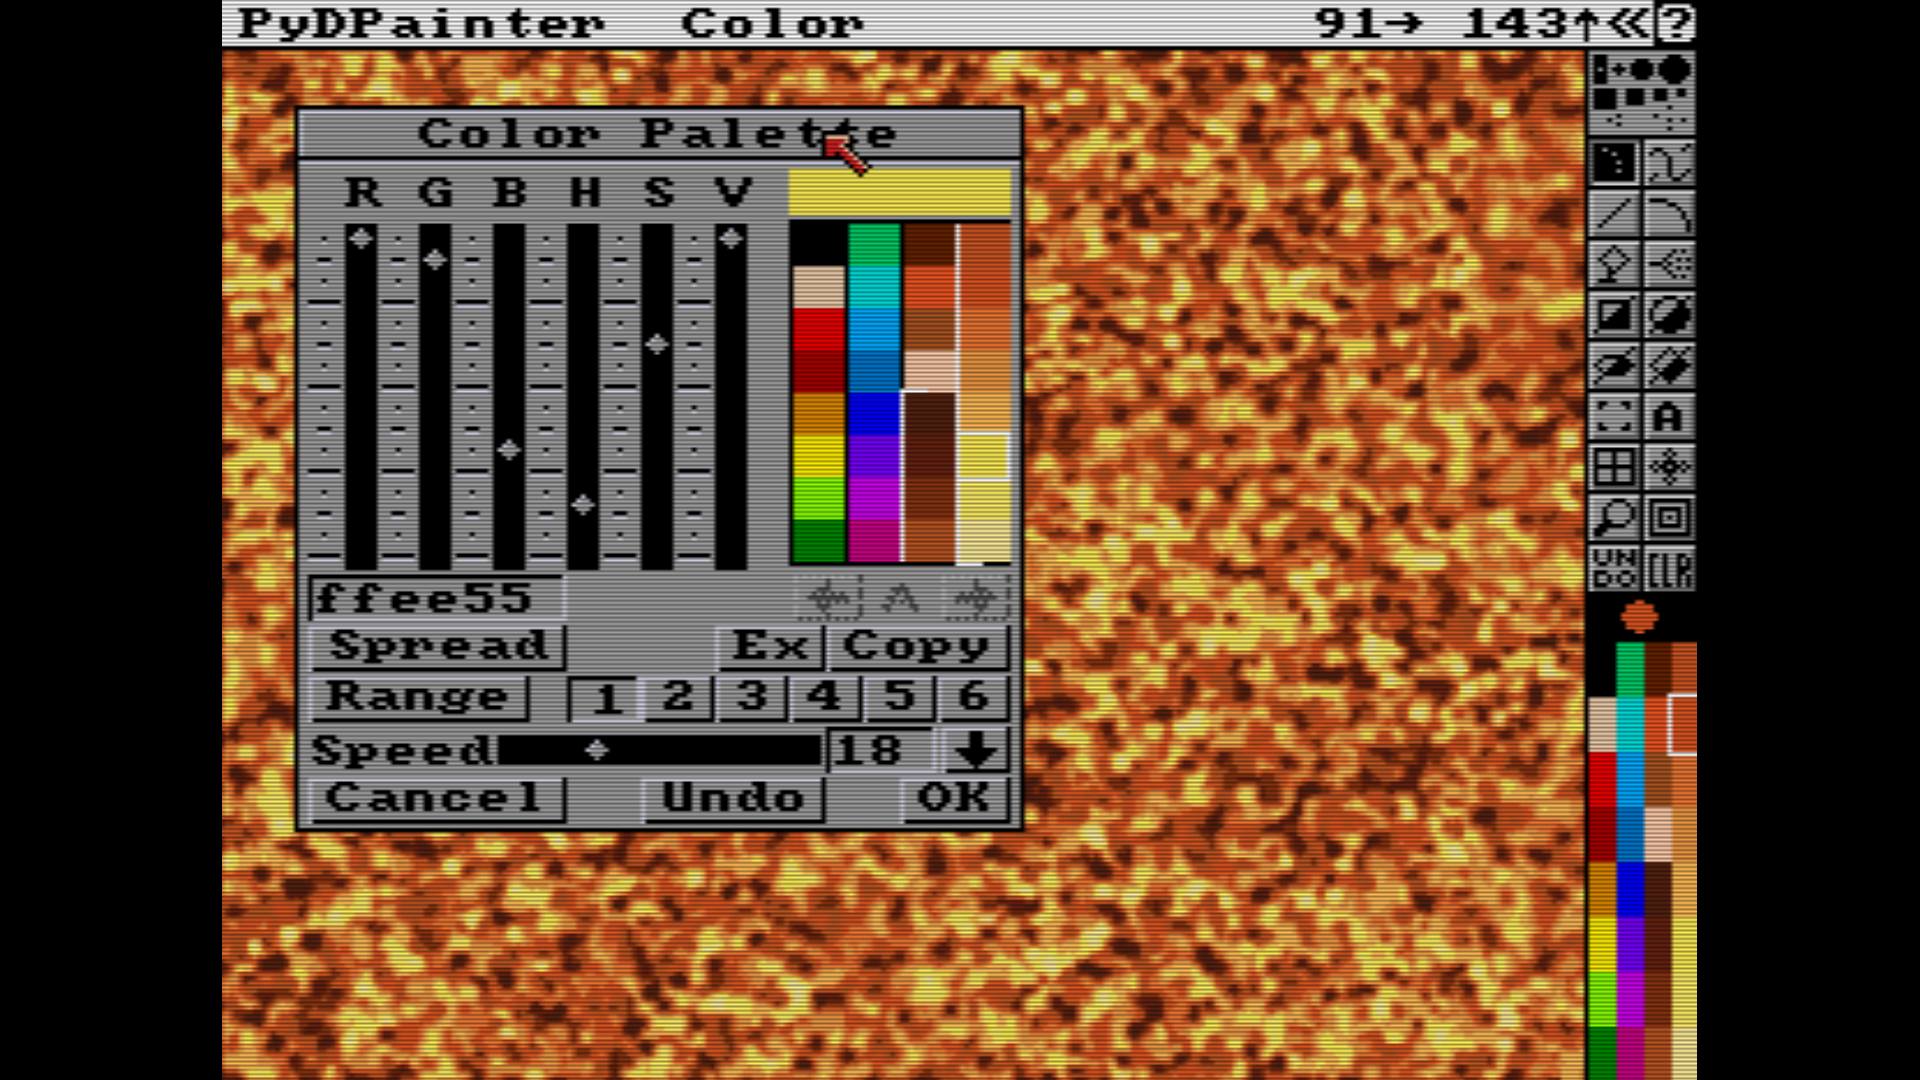
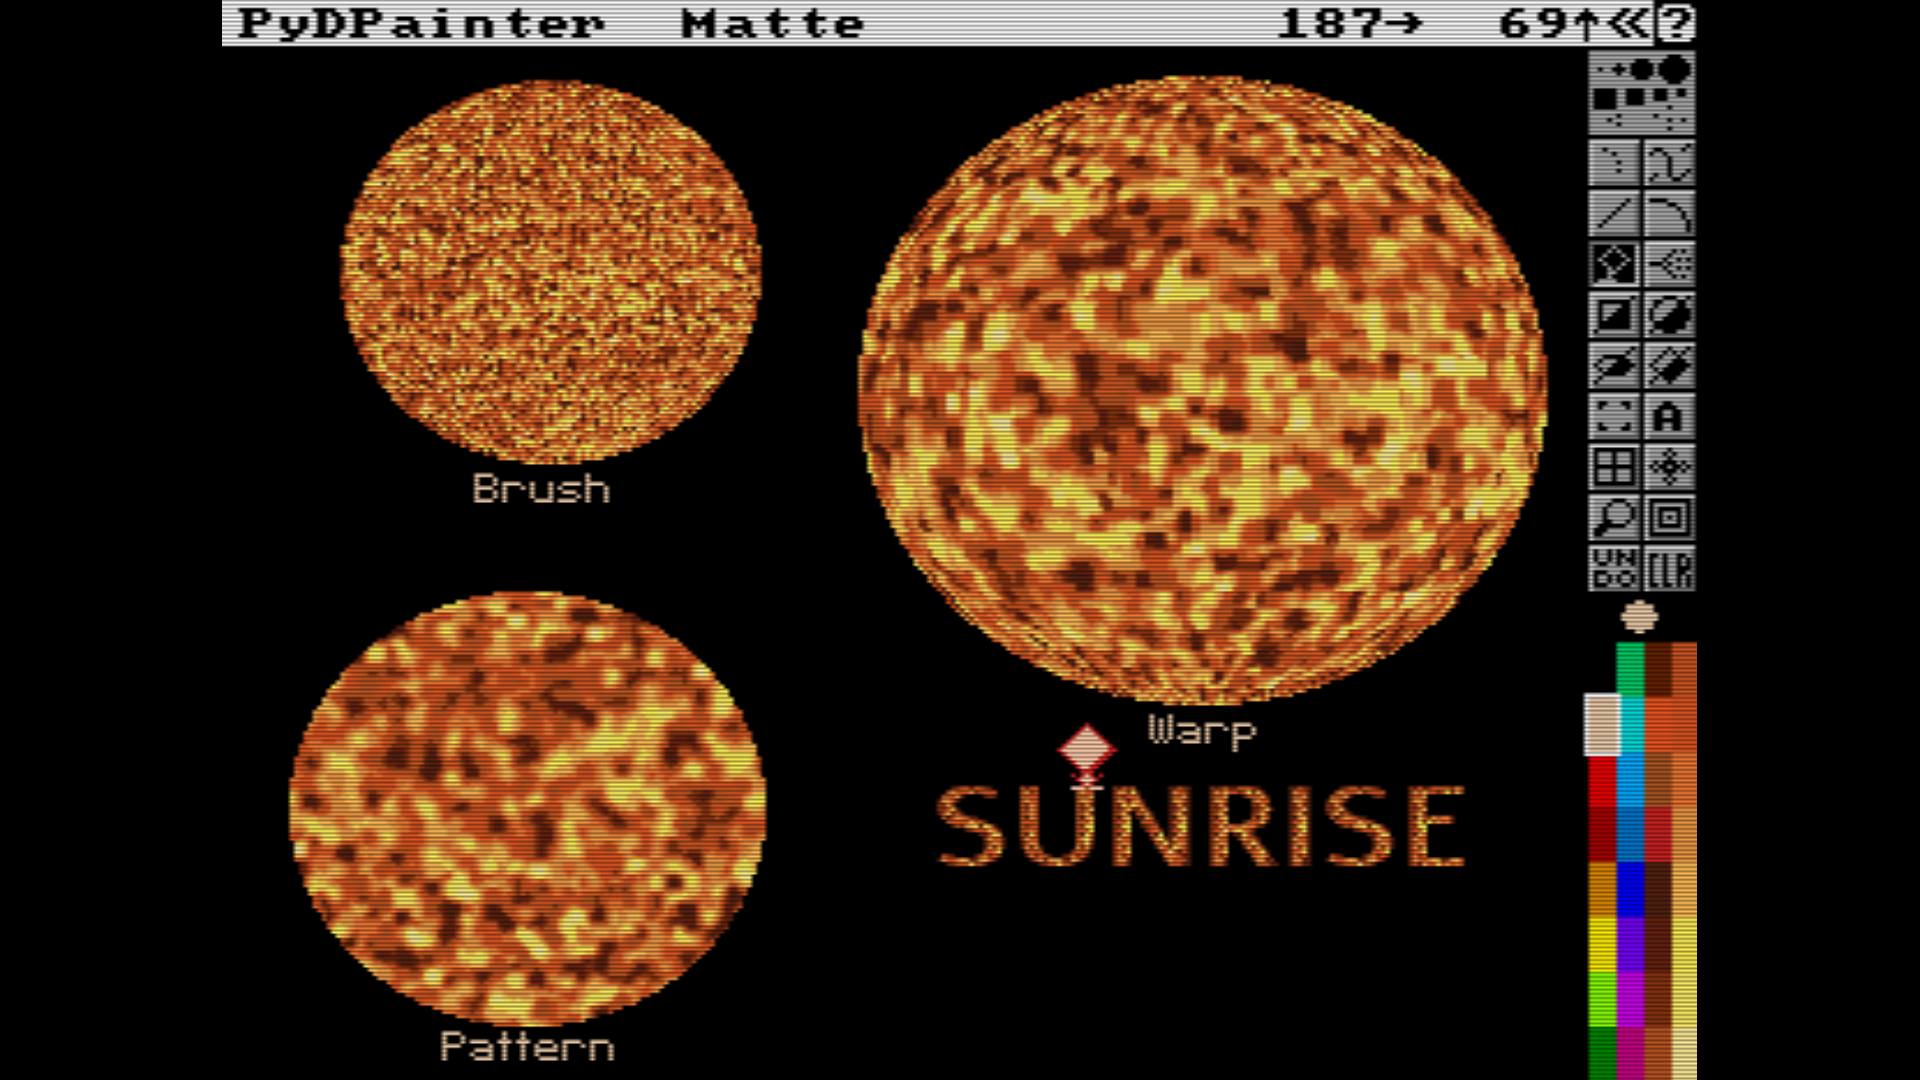
- I advise you to copy an orange in the middle. And a brown in place of the darkest gray in the cycle. Use the Copy function for this. Then, with the Spread button, create some shading between your colors. Do not hesitate to have well marked colors. Finish your gradient, not with a bright yellow (saturated in S), but with a bucket of yellow tending towards white, thus slightly desaturated. Try to get that visual impression of fire, or of looking at a photoshot of the surface of the sun. See image for reference.
b for brush  .
. F10 key to show/hide the interface if needed.j. You have a new working screen to play with your new brush. The "spare" screen. You haven't lost your nice texture. Press j to see for yourself. (the black one on the bottom right).
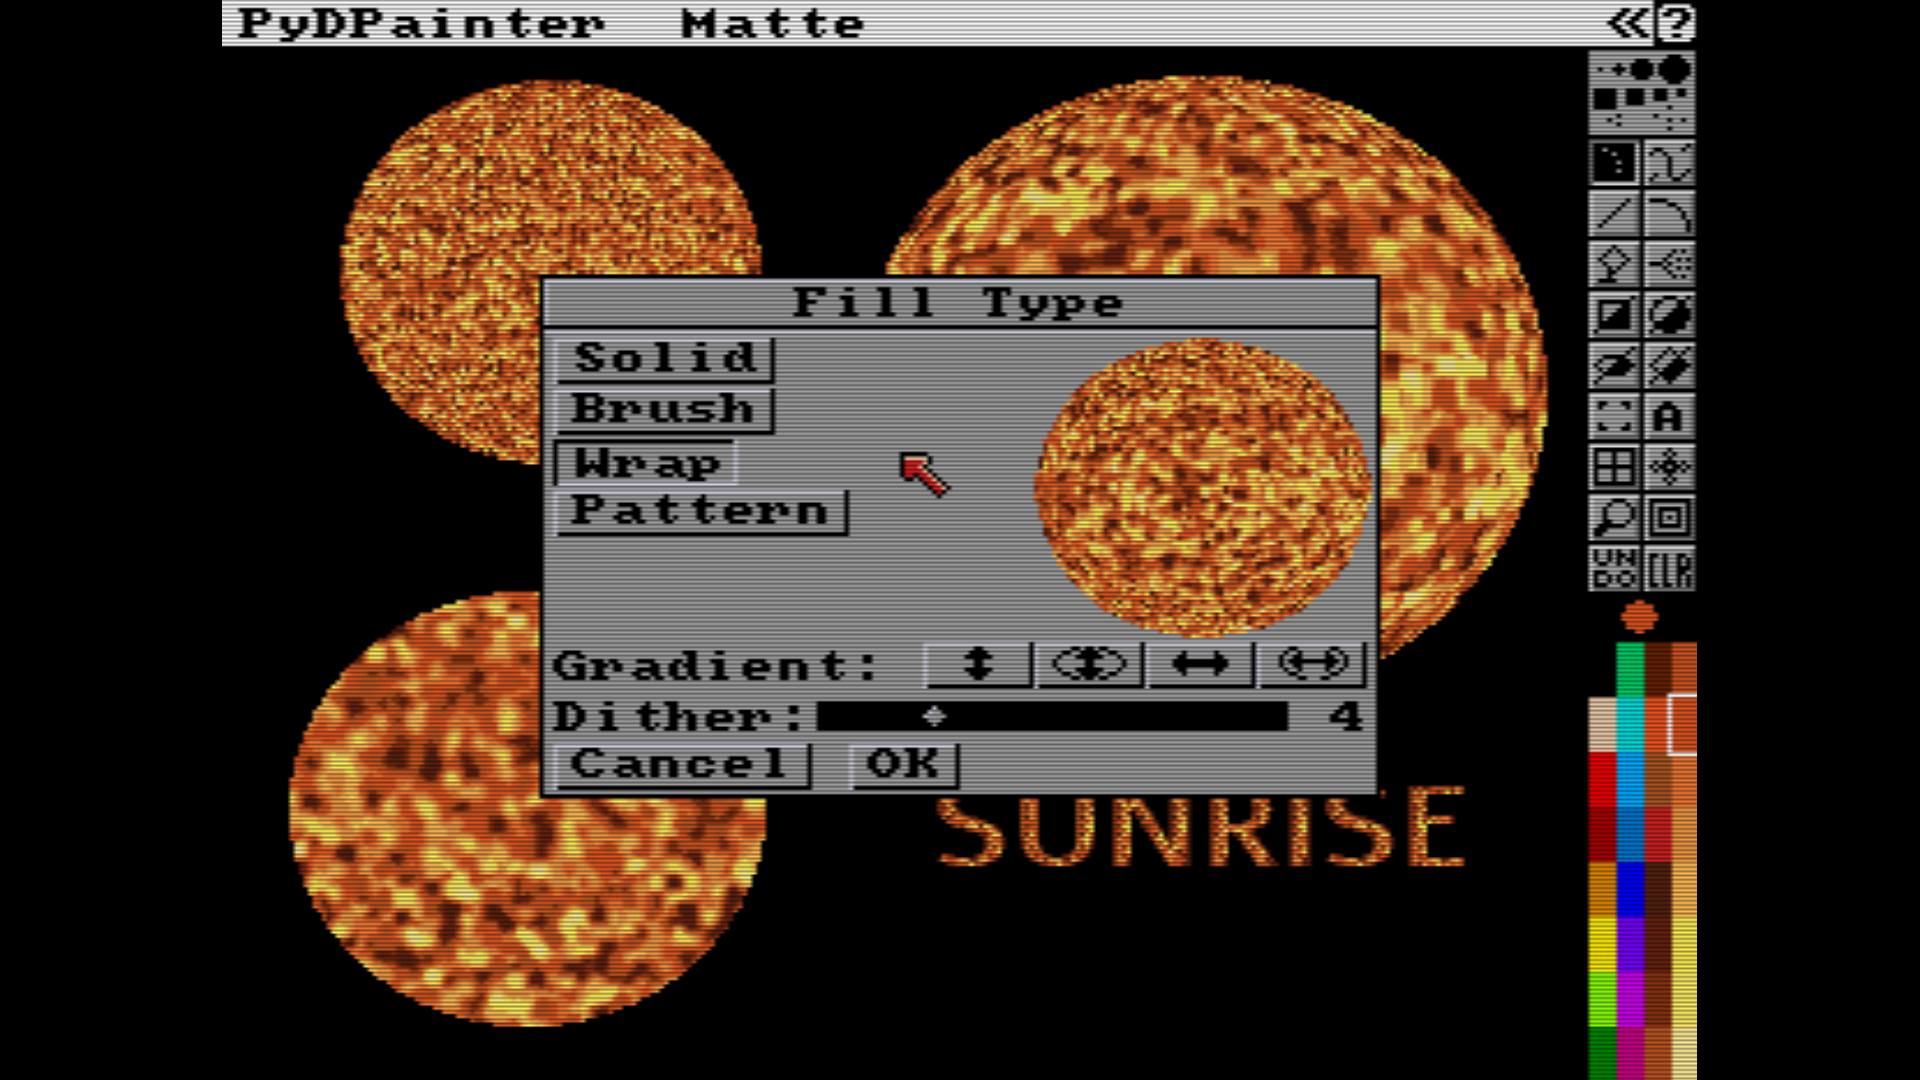
Back to Table of Content