|
|
Docs | Gallery | Download | Blog |
Need a noise or cloud texture like the old filter "Render/Clouds" in PhotoShop?
Select a color that is in a color range. Let's use the grays near the end of the default color palette. Click on any gray on the bottom right.
Select the Airbrush tool (spray icon).
Use the menus to select Mode/Cycle(or press F7). If you paint with this, it will produce random gray dots around your mouse pointer.
Select the biggest predefined square brushes.
Note how the square brush now have it size displayed in the menu bar (new in 2.2)
Paint on the canvas to spread a lot of small squares with different shades of gray. Continue to fill the screen like this:
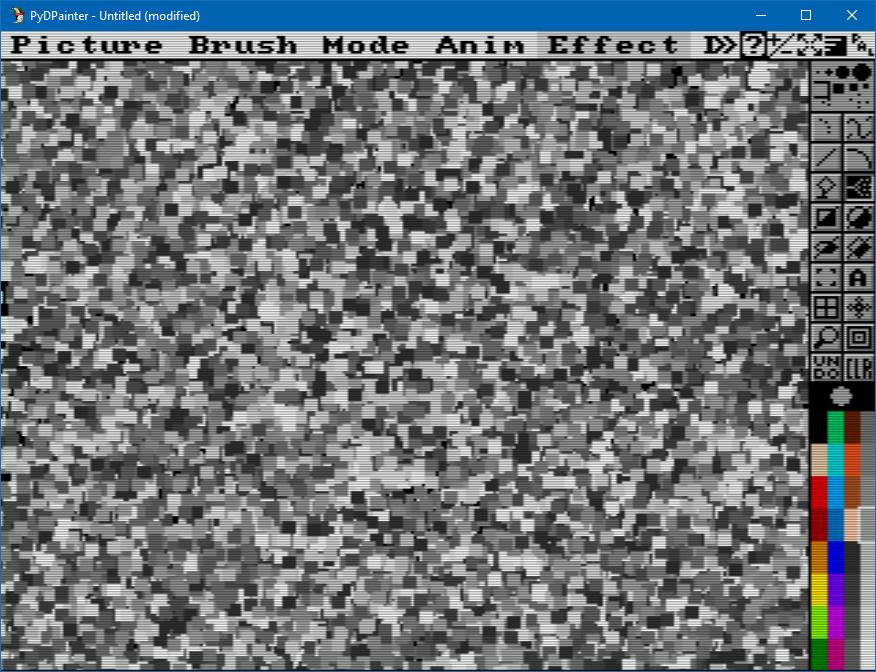
Tip: You can paint under the tool bar and menus by continuing to hold the mouse button down as you move the airbrush tool into the these areas. But if the tool bar bores you, hit F10 to hide it.
Hit TAB key for fun.
You now have an ophthalmic headache ! Hit TAB again to switch off the color cycle.
Now we need to blur/smooth this psychedelic pattern. Using Smooth Mode the old way or Smooth Fill the new way.
But in the old Deluxe Paint way, you can only paint with this Smooth mode, not fill the whole screen.
d for Draw tool. Select the large circle brush on top right.F8)+= or the shift-H key to double its size.When you're done it should look like a screenful of clouds:

 to open the Fill Type settings.
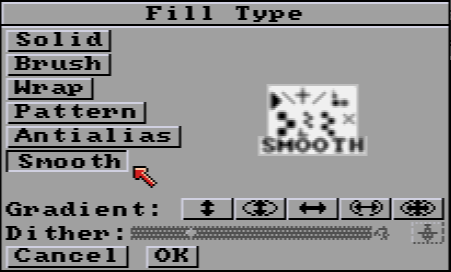
 but on the right bottom black half of the icon (Filled !)
Smooth Mode is a bit rough sometimes with a large brush. If you want quality anti-aliasing that respects details, you'll have to use the new AntiAalias Fill. Or you can smooth with a smaller brush, pixel by pixel to get the right effect. Usually I use the second smallest
+-shaped circle brush to smooth the edges of objects. This gives a nice blurred look on the edges without blurring too much of the inside of the object.
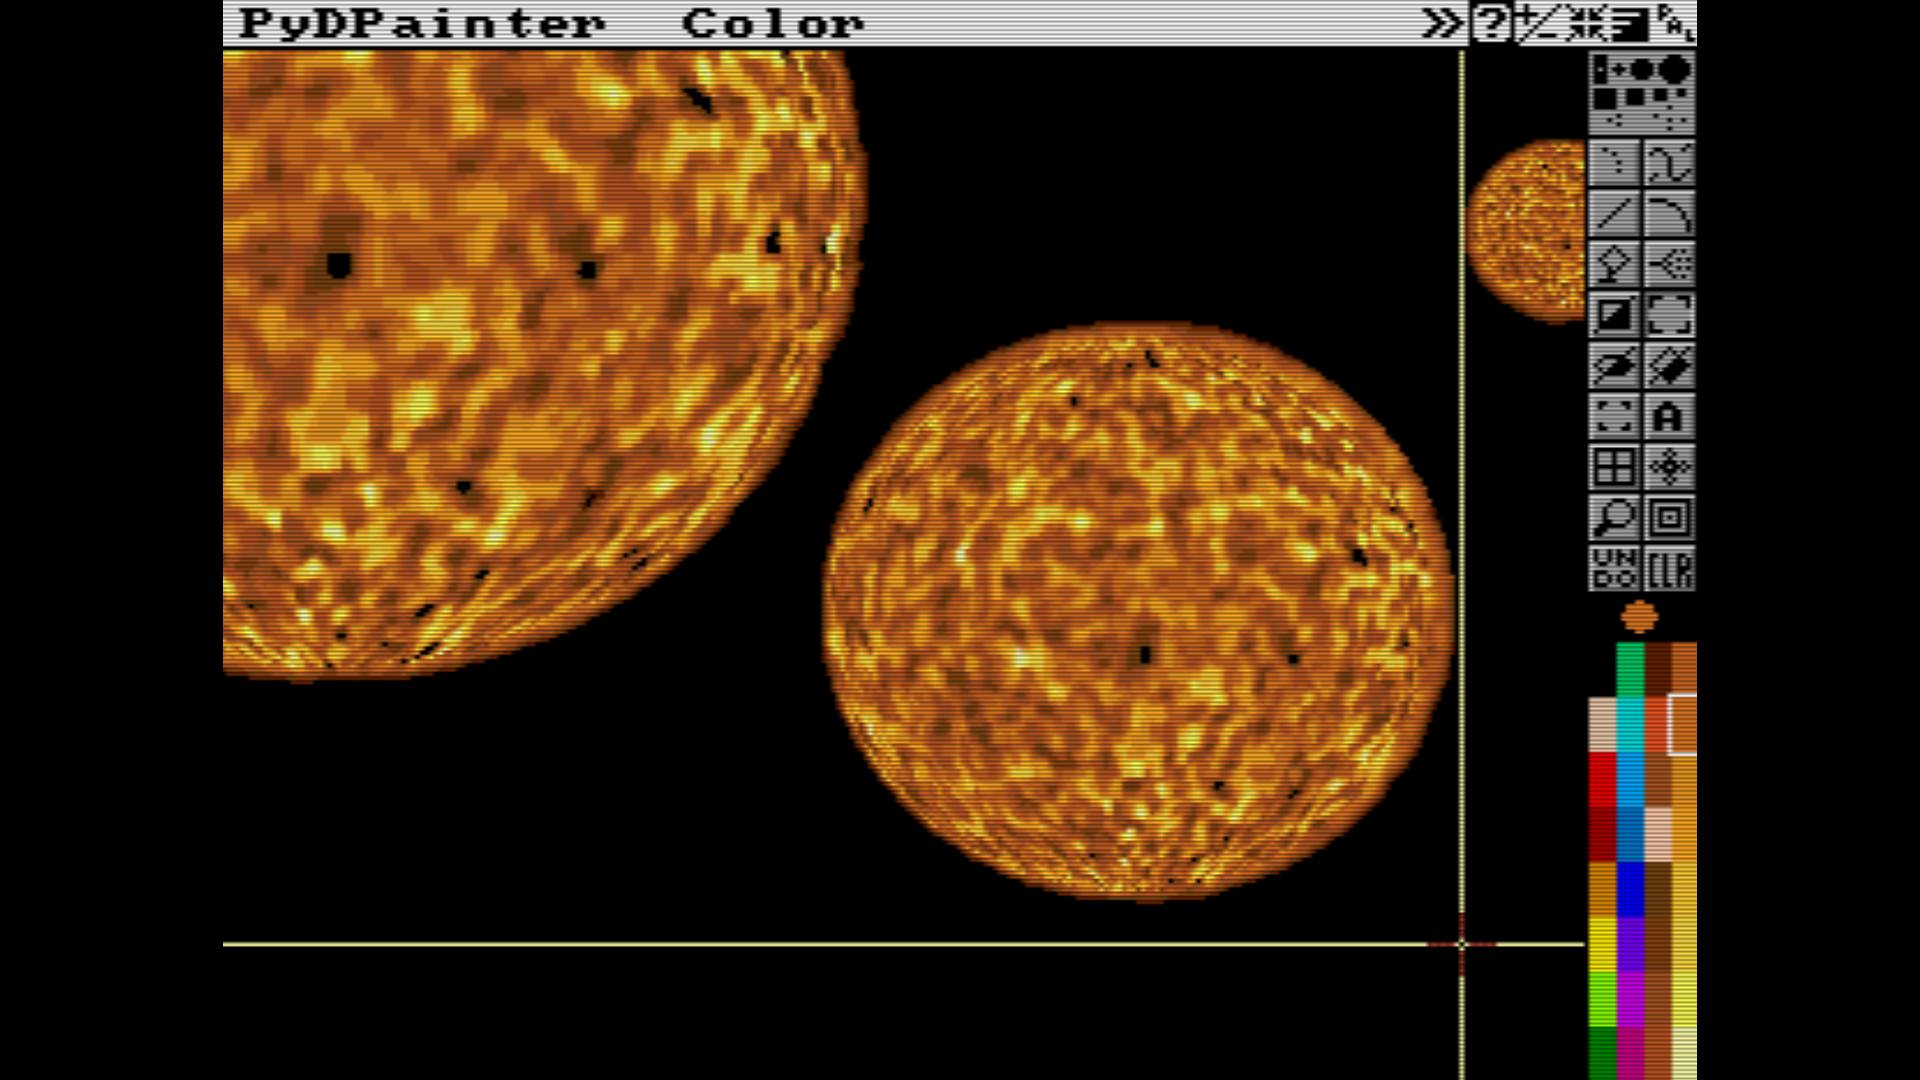
In the next tutorial, we'll show you how you can easily draw the Sun, planets, and plasma balls like these:
Back to Table of content